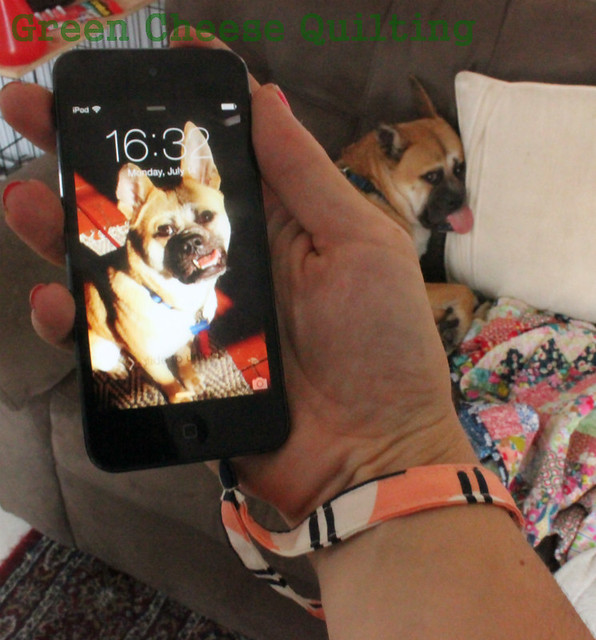


I'm about to head to lovely Honduras for a little fun in the sun and sand. I've got a few things to share while I'm away, but I'm going to focus on relaxation...even though I am bringing some work with me! And I figure, if I'm bringing some work, I may as well bring a little hand sewing project too!
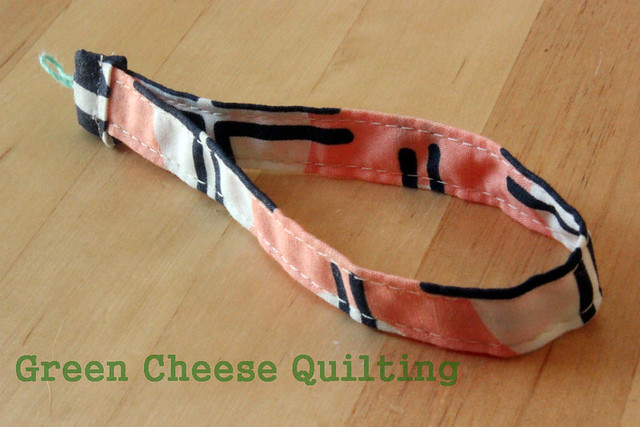
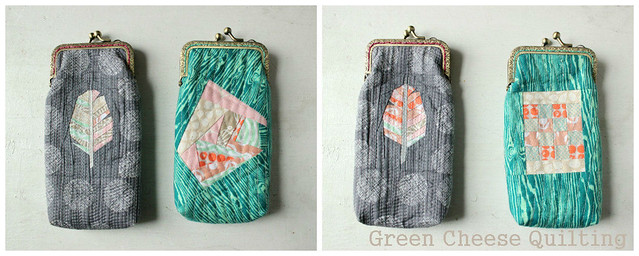
I bought the Arizona collection and wasn't sure what to do with it. It's so pretty, and so GRAPHIC. That makes it harder for me to use in a quilt (which is probably why my stash keeps growing - I keep buying fabrics I WANT, not fabrics I can USE). Suddenly, it hit me! Tiny hexagons! I'm going to try my hand at English Paper Piecing, with my goal to make a large enough panel that I can make another glasses case. It should be possible, I only need about an 8" by 6" section...it'll more depend on if I actually take the time to sew!
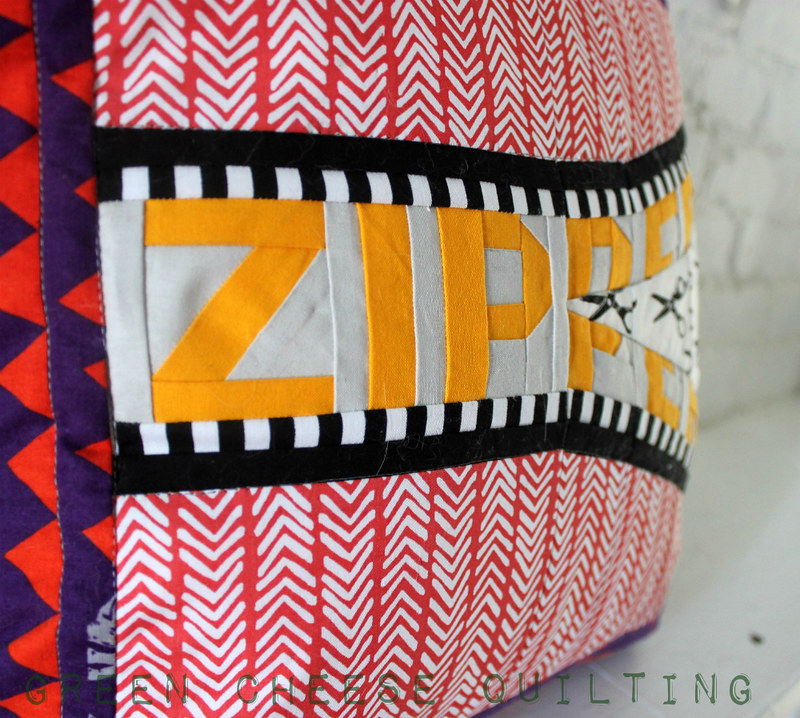
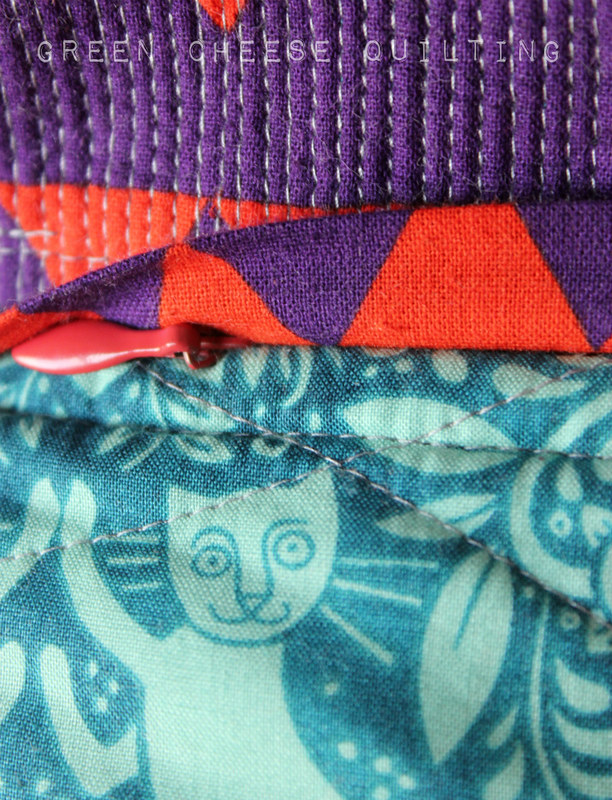
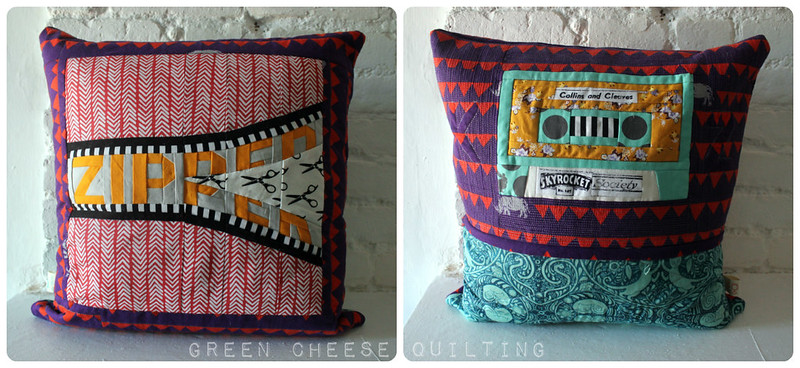
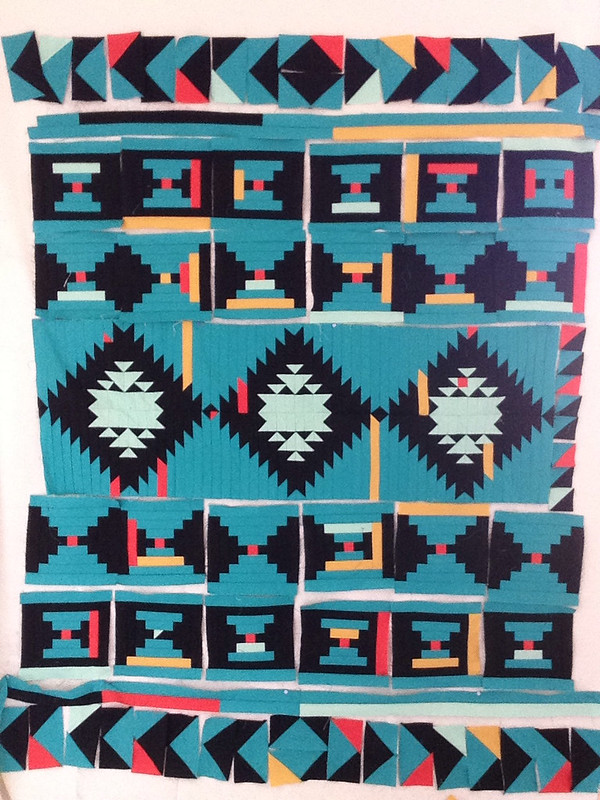
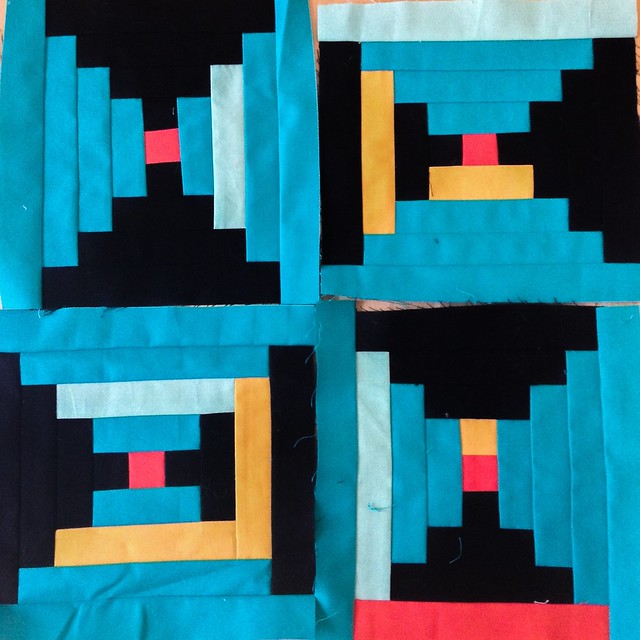
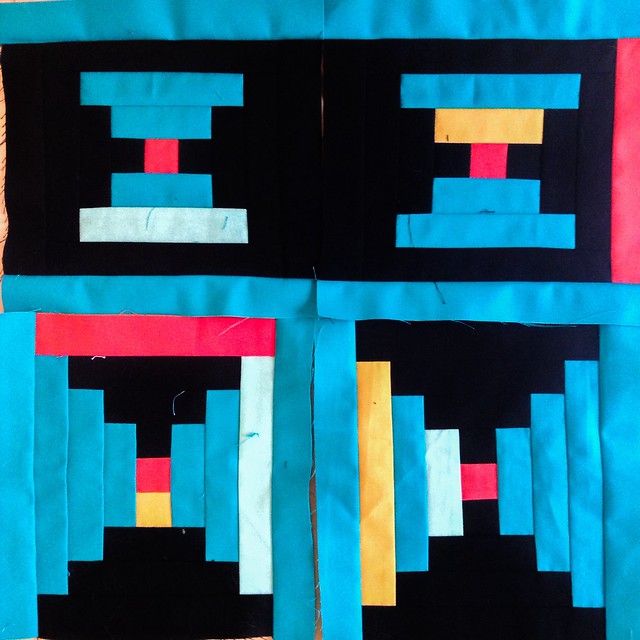
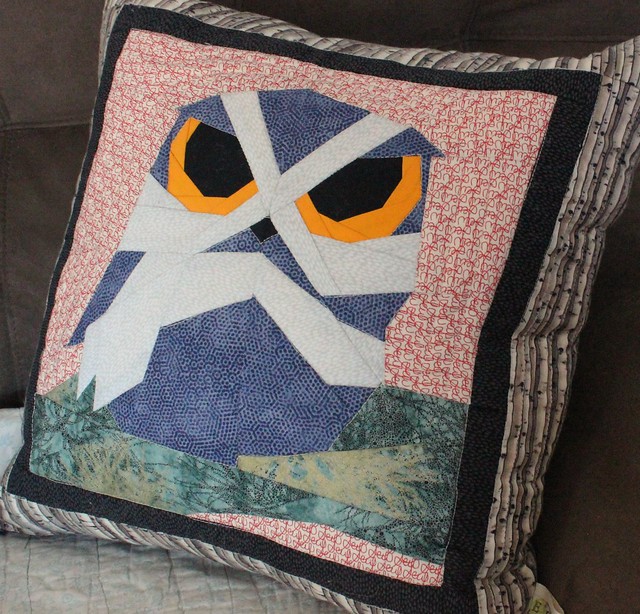
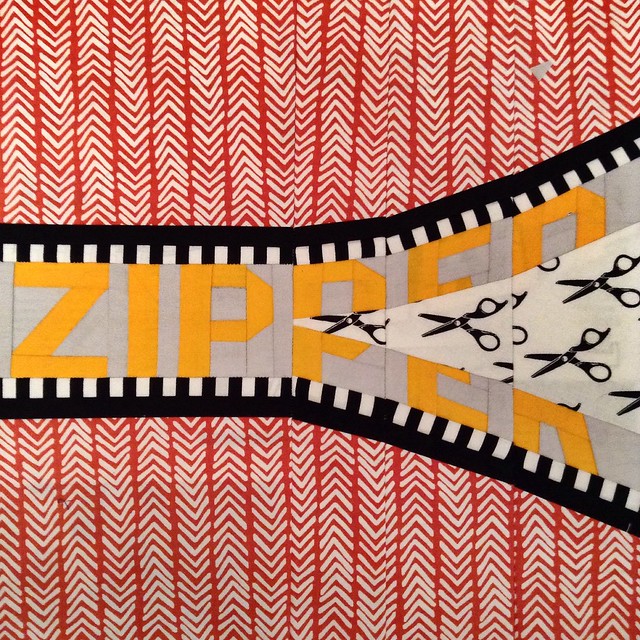
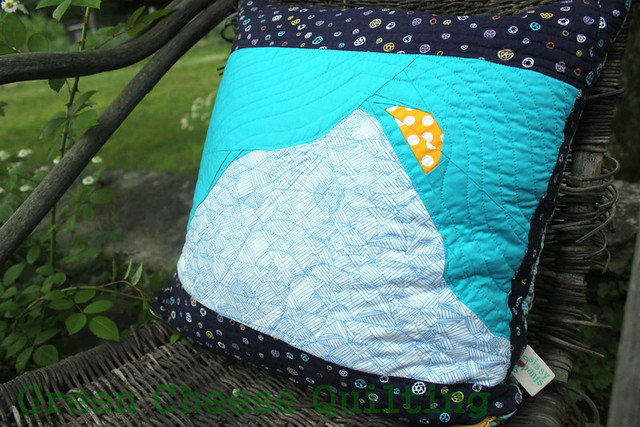
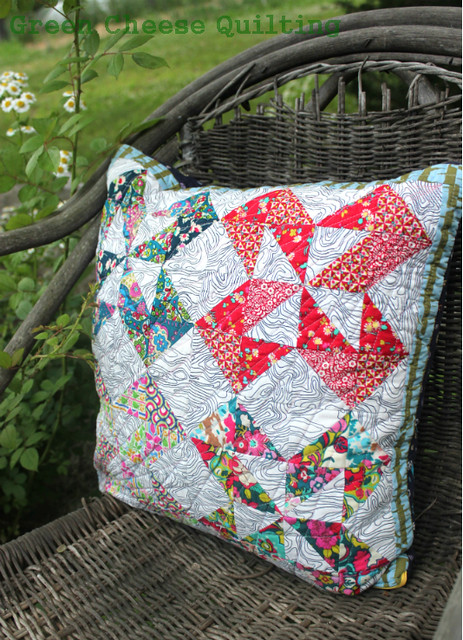
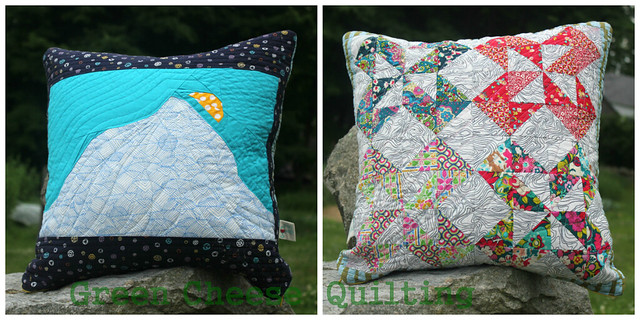
I've also been thinking about projects in the pipeline. I don't want to get overwhelmed, so I'm only starting new projects as I finish them. Since I recently finished the Zipper Pillow for my friend I'm going to make a couple of neutral, improv log cabins based cusions for myself. Yes, you heard it right, I'm sewing for myself! I had found the backing fabric in San Francisco last spring, and have been waiting for inspiration to strike regarding what to do on the other side. I realized that I'd love to play around with log cabins and a neutral palate, so the pillow project was born.
I've got some other ideas as well, but as I mentioned, no new project may be started until I finish an old one! Now to get this pesky vacation over with already...
 |
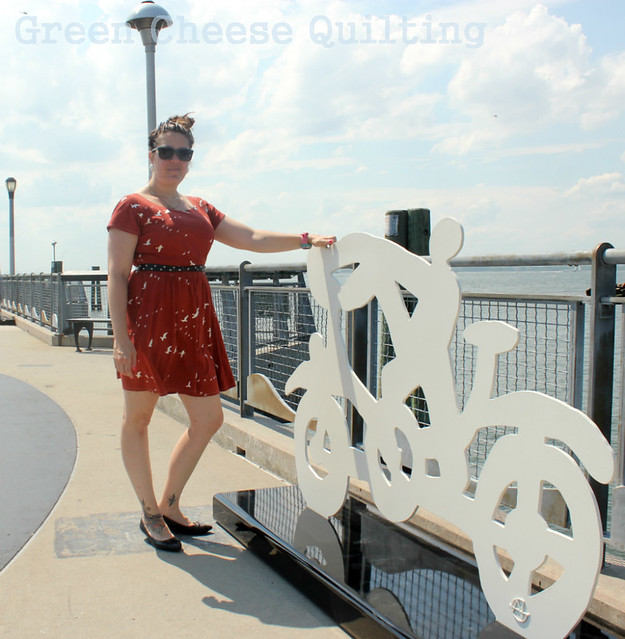
| 3/4" hexagons...it's really going to break the collection down to it's basic colors. |
I bought the Arizona collection and wasn't sure what to do with it. It's so pretty, and so GRAPHIC. That makes it harder for me to use in a quilt (which is probably why my stash keeps growing - I keep buying fabrics I WANT, not fabrics I can USE). Suddenly, it hit me! Tiny hexagons! I'm going to try my hand at English Paper Piecing, with my goal to make a large enough panel that I can make another glasses case. It should be possible, I only need about an 8" by 6" section...it'll more depend on if I actually take the time to sew!
 |
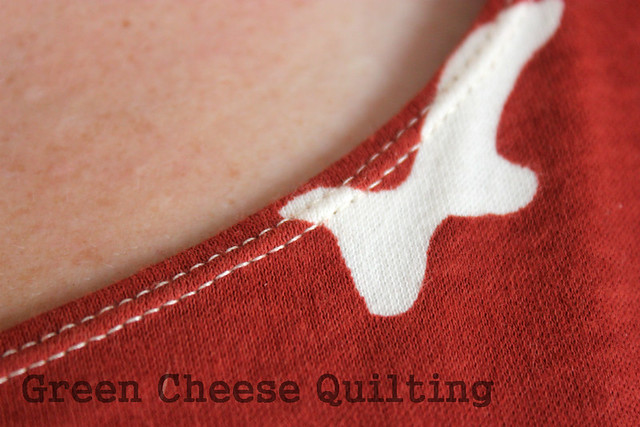
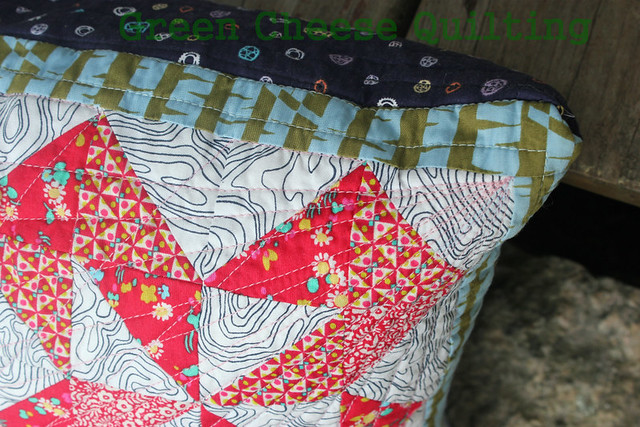
| I just couldn't pass this fabric up! The neutrals are a heavier weight chambray. |
I've also been thinking about projects in the pipeline. I don't want to get overwhelmed, so I'm only starting new projects as I finish them. Since I recently finished the Zipper Pillow for my friend I'm going to make a couple of neutral, improv log cabins based cusions for myself. Yes, you heard it right, I'm sewing for myself! I had found the backing fabric in San Francisco last spring, and have been waiting for inspiration to strike regarding what to do on the other side. I realized that I'd love to play around with log cabins and a neutral palate, so the pillow project was born.
I've got some other ideas as well, but as I mentioned, no new project may be started until I finish an old one! Now to get this pesky vacation over with already...