photo BlogButton_zpsf979d556.jpg  photo AboutMeButton_zps0d48ecc3.jpg  photo FinishesButton_zps92f1f16c.jpg  photo TutorialsButton_zps33a38379.jpg  photo RTQLabel_zps71a4ad0f.jpg

26 February 2015

The Patch Pack Mini is Finished!

I am not the biggest fan of winter. My apartment is terribly insulated, so I spend most of my time freezing and huddled under quilts with the animals. I really lose my motivation for sewing and blogging. Today I'm feeling motivated to share, so I'm going to try to take advantage of it!

Finished Pack Patch Mini
Mini Quilt in the snow. Drifts up to your armpits!

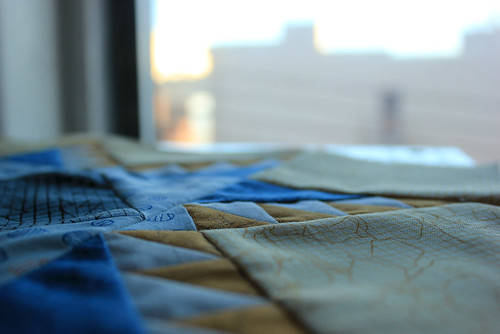
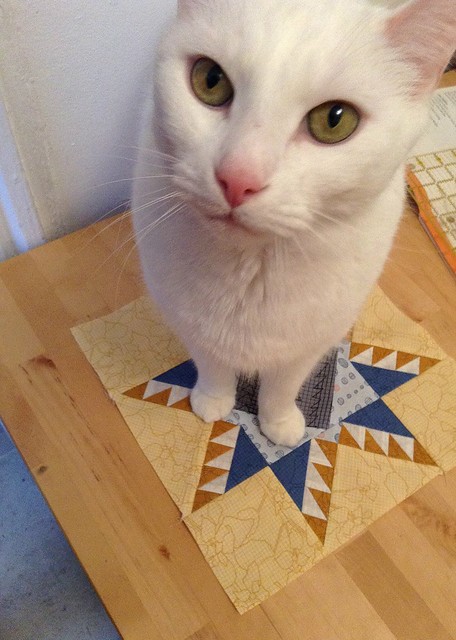
I finished my Pack Patch Mini Quilt a few weeks ago and brought it up to Vermont for a photoshoot. I ended up quilting it with parallel wavy lines, about 1/3" apart. I really like the effect, although it did warp some of the blocks. I then tried blocking the quilt to square up everything again, but due to apartment living was unable to let it sit flat and pinned for long enough. We'll just say its got a healthy does of character, right?
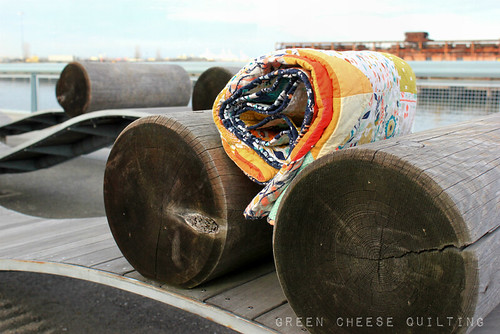
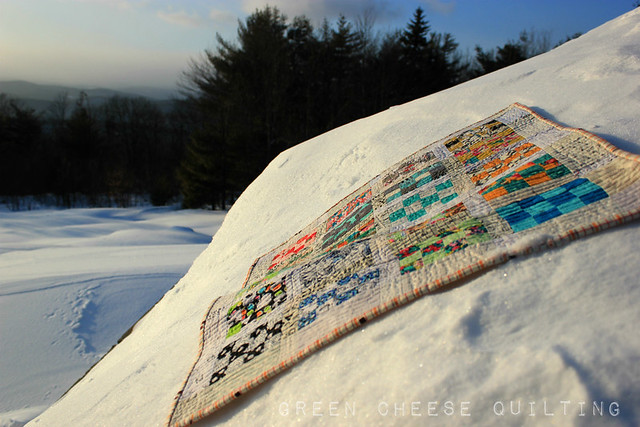
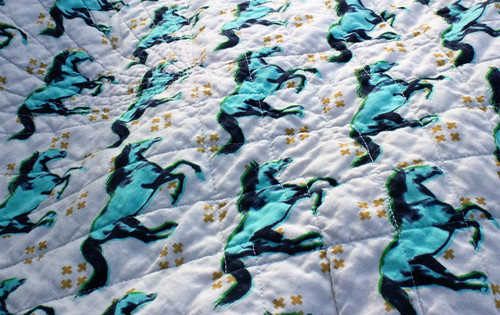
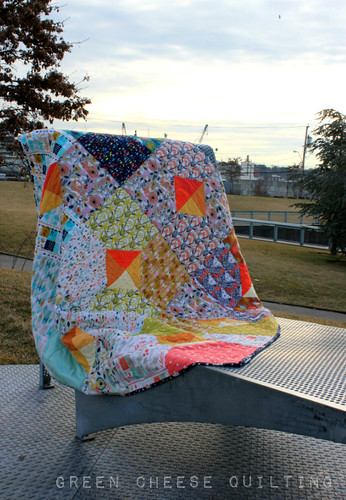
Finished Pack Patch Mini

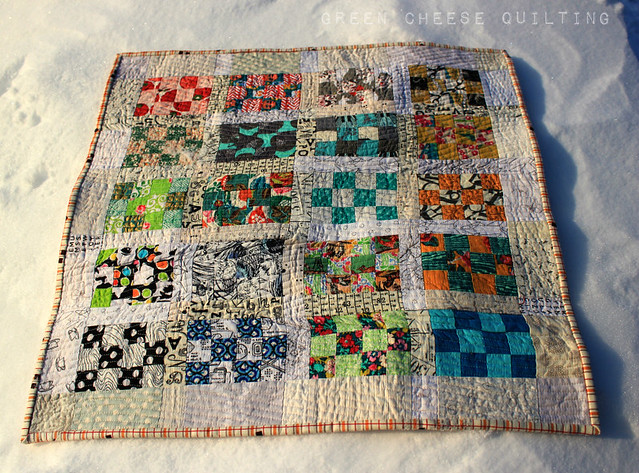
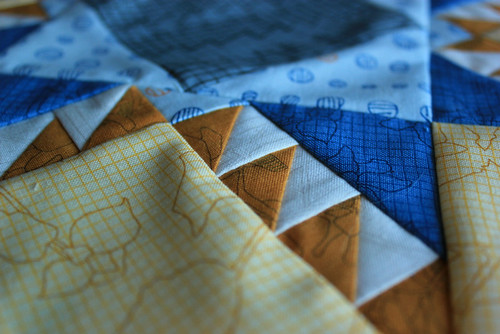
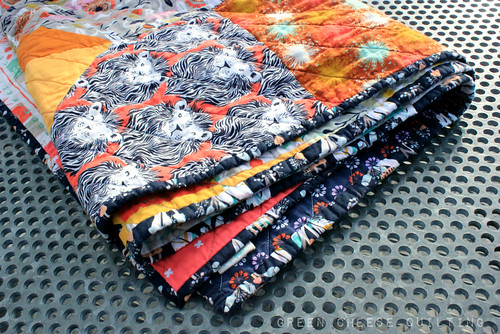
As you may recall, I used some low volume charms for sashing and borders. Keeps it interesting, without making it too busy. I bound it with a great Denise Schmidt print I got on sale at Purl Soho, and the backing is a vintage yellow ditzy print. So vintage that my mom probably bought it in the 80's. Very authentic.

Finished Pack Patch Mini
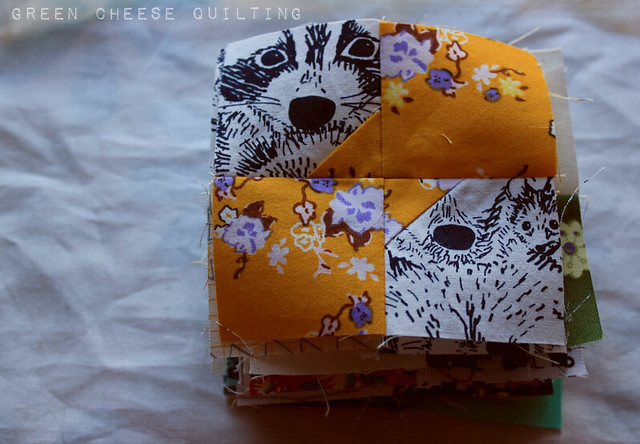
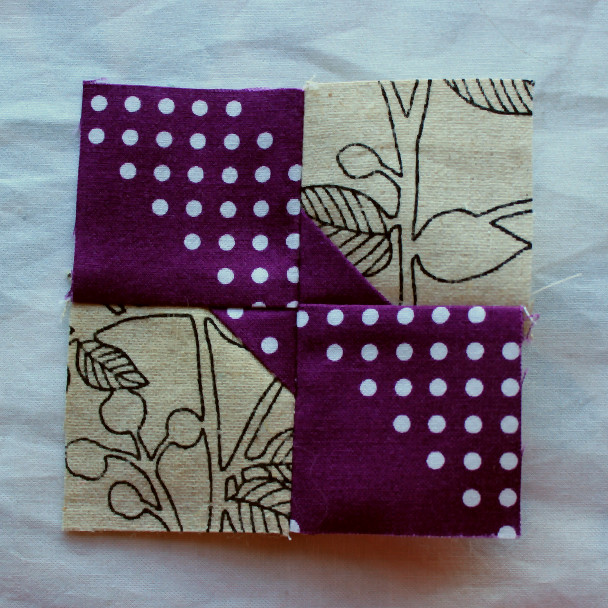
Back and binding detail. 

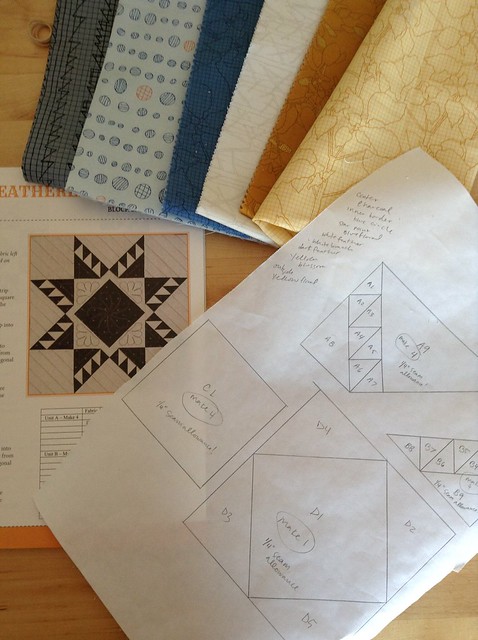
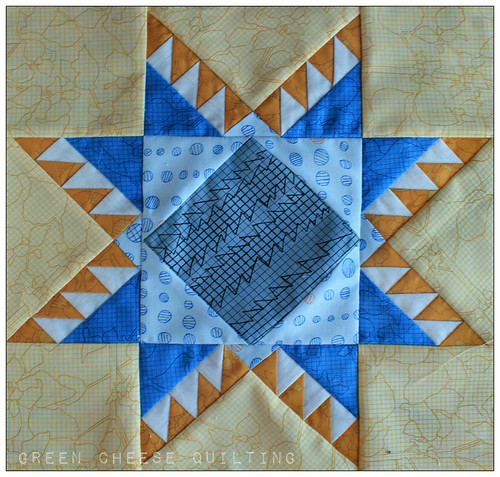
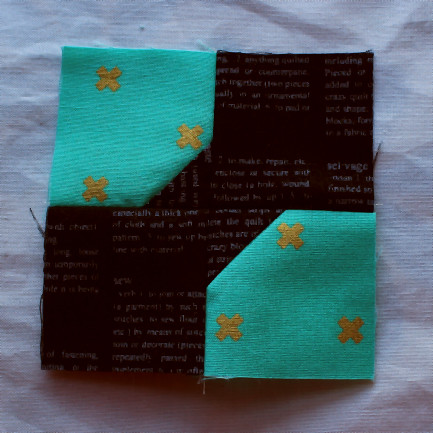
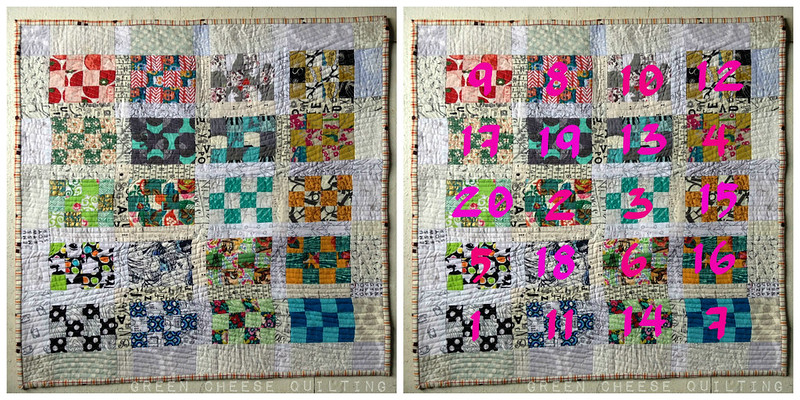
Each patch has it's own prompt. If you want to learn more about them, check out my other posts on the process. I didn't lay the blocks out in chronological order. I aimed for something that was relatively pleasing to my eye, with a kind of transition from lower volume to more saturated blocks. Under this image you'll see I've turned it into a 'block key' so you can check out any individual posts to see what I was responding to.

Finished Pack Patch Mini


Finished Quilt!


Checking this one off my Q1 finishes for the 2015 Finish Along. Whew, what a lot of links! I've got at least one other project to share soon, and I've got to get my butt in gear for Round Trip Quilts as well. I've got some ideas working on that front, just need to finish them up!

13 February 2015

Feathered Star #4

Feathered Star #4
Block in the city. 

I've got my first feathered star complete as part of my slow sewing project. It wasn't too bad, just four foundation pieces to trace. I like to use freezer paper when I make a project that reuses the same piece multiple times. Especially if the pattern comes from a book. This way, I don't have to deface the book by ripping any pages out to get a flat copy, and I don't have to worry about finding a copy machine! I just lay the freezer paper (wax side down) over the block I want to trace, and put it on a hard, flat surface. Then I trace the lines using a drafting ruler.

Untitled
First block, traced pieces, fabric pull. 

After I picked the fabrics and creased the papers, I set to work. As you can see in this shot, since you don't actually sew through the paper with this method you can use them indefinitely (or until they lose their sticking power). 

Feathered Star Project
in the top segment, the paper is still attached to the fabric.
When you're done, just peel it off and make another.

I'm getting better at my precision using this method, though some of my points are a little duller than I'd like. I'm sure by the end of this I'll be an expert!

Feathered Star #4
Completed star
Feathered Star #4
Details, details. 

As I was finishing up Dino wanted to remind me it was time for dinner. He was pretty insistent! 

Dino on the Feathered Star
My 'helper'. 

09 February 2015

Layers of Charm with FQS!

Layers of Charm
All rolled up on the docks. 

Late last year I was contacted by the Fat Quarter Shop to participate in the release of one of their shortcut quilt patterns. It's called Layers of Charm, and is layer cake and charm pack friendly (see what they did there?) To make things even easier, they've got a video tutorial!

This was actually my first time using precuts. Can you believe it? I've just always bought yardage. I ended up getting August by Sarah Watts for Cotton and Steel, and I cut up a bunch of 5" squares from coordinating solids (lost the details on those). I chose August because after a quick look at the pattern I saw that each block was going to be large and fairly simple, so I wanted to highlight a larger-scale print that might otherwise get chopped up. I felt like this collection had a lot of great focus fabrics.

Layers of Charm
Fabric selection. I was suckered in by those lions!

The top came together super fast, for me. I think I had it done in about 2 hours, and that included arranging the fabrics; sewing, trimming, and pressing; sewing rows together; realizing I didn't like the arrangement; and tearing out some blocks to better obtain the look I was going for.

Layers of Charm
Quilt top. 

I was aiming for a colorwash effect with the larger squares, and a faceted look on the interior 'diamonds'. It kind of worked, but there's still a few things I would change. Since it's so quick to whip one up, maybe I'll actually try again!

Layers of Charm
Quilt back. 

I used more Cotton and Steel for the back, and the left over HSTs that I trimmed off from the front. I made them at the same time, just took one extra pass through the machine. 

Layers of Charm
Binding. And lions!

I bound the quit in Forest Trail by Sarah Watson. I liked how it played with the colors in August, and acted as a nice border.

Layers of Charm
Quilting detail. 

My favorite part is the quilting. It's kind of hard to see in these pictures, since there wasn't much contrast that day, and the fabric was rather busy. I did diagonal lines that radiated out from the center in a couple of ways. This is the first time I marked every single line (with painters tape), and I used gardening gloves for grip. I think it really helped with my stitch regulation, and my desire for straighter lines. Double win!

Layers of Charm
Just another day at the Ikea park. 

This was also my first time following a pattern for an entire quilt. Lots of firsts here, apparently! Usually I like to sketch and then play around with proportions and maths. Then I choose fabrics, and inevitably have too much or too little of something, which I like because it adds in another challenge. Following along with this pattern was a nice change. No surprises! All in all, I'd highly recommend it. Super straightforward, and really allows you to play with your fabric choices. If you don't feel like arranging fabrics, it also makes for a great scrappy quilt. Check out the other talented quilter's versions at the FQS's Jolly Jabber

p.s. I'm also checking it off my list for my 2015 Q1 Finish Along.

03 February 2015

Bitty Block Quilt Along

Bow Ties
Stack o' ties!

Somehow I ended up down a rabbit hole of blog reading, and came across the Quiltmakers Magazine Bitty Block QAL. I'm not sure why, but I got sucked in immediately. Usually I need to ruminate on new ideas for at least a week. This one I jumped into so fast that after waking the dog I sat down and made the first set of blocks.

Bow Ties

These guys finish at just 3" (so they're 3.5" right now). I don't even really like bow tie blocks. But, I do love little blocks, and quilts made up of little blocks.

Bow Ties
I see you!

The first Monday of the month they will post what you need to make. Each block will become a row, and the rows will eventually become a throw-sized quilt.

Bow Ties

My plan is to use all scraps. From the scrap bin. No going into my stash. I'm not even really trying to match things up, I'm just looking at contrasts (light/dark, bright/soft, warm/cool). Hopefully this way I'll shrink that scrap bin. Plus, I think that it'll result in a nice and scrappy quilt. Usually I have too much control to allow things to truly become scrappy. It turns out most of the fabrics I use go together anyway (I hope!), so the overall quilt should be busy but somewhat cohesive. Hoping this new project doesn't distract too much from all the projects I'm trying to finish up right now!

Linked up with WiP Wednesday at Freshly Pieced and Scraptastic Tuesday with She Can Quilt